


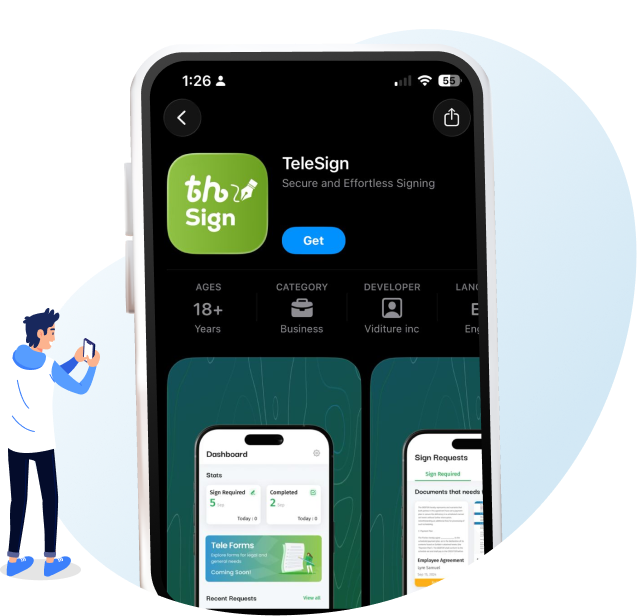
Step 1
Download Telesign App
Download and install the TeleSign Mobile App on your smartphone, available for both Android and iOS.
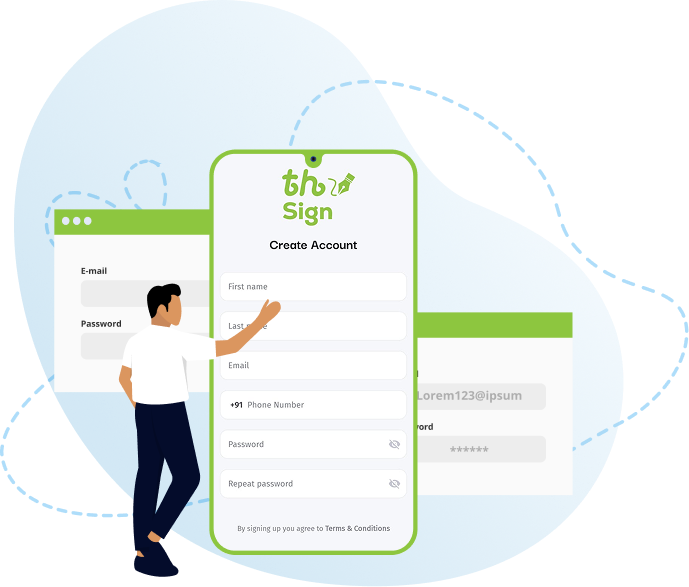
Step 2
Create Account
After downloading the TeleSign app, create your account by entering your first and last name, phone number, email address, and a strong password. Once you agree to the terms and conditions, your account will be successfully created and ready to use.
Step 3
Form Selection
Once your account is created, you will gain access to your personal dashboard. From there, click on the TeleSign Form option. Upon selection, you will be provided with different categories of forms. Choose the 'Federal Government Forms' category, and from the available list, select the 'Ministry of Foreign Affairs' form.

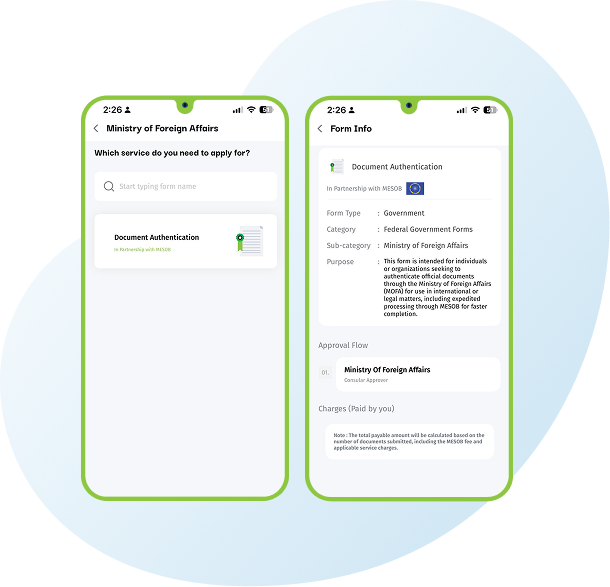
Step 4
MOFA Services
After selecting the Ministry of Foreign Affairs, you will be directed to the Document Authentication Form.

Step 5
Form Information
When you click on the Document Authentication option, you will be redirected to the Form Information page. Here, you will find all relevant details, including the form type, category, sub-category, purpose, approval flow, and applicable charges. By clicking “Start Signing” , you will proceed to the next step in the process. TeleSign Form
Step 6
Application Details
After clicking “Start Signing,” you will be directed to the Application Details section. This page consists of two parts: Nationality Details and Application Type. Under Nationality Details, you will need to select one of Once you have made your selection, click “Continue” to proceed. After selecting the appropriate option, click the “Next” button to continue.

Step 7
Applicant Details
Upon clicking the “Next” button, you will be directed to the Applicant Details section. In this section, you are required to provide your personal information. If you are applying on behalf of a Company, you must additionally provide the Company Information together with a valid Power of Attorney. Likewise, if you are applying on behalf of an Individual Client, you will be required to provide the Agent’s Details along with the client’s Power of Attorney.

Step 8
Review Documents
All the information you provide in the questions and answers form will be generated into a PDF and displayed on your screen for review. If any corrections are needed, you may click the “Back Button” to update your details. Once everything is accurate, select the ‘I agree to the Terms and Conditions’ checkbox and then click the ‘Start’ button to proceed.”

Step 9
Video Consent and E-Signature
After clicking the “Start” button, you will be redirected to the Video Consent and E-Signature screen.

Step 10
PDF Preview
Next, click the “Preview” button to view your completed PDF. Review all the details carefully to ensure accuracy. Once confirmed, click the “Continue” button. A pop-up message will then appear asking if you would like to “Finish Signing.” Select “Yes” to submit your application, or “No” if you wish to cancel or make further changes.
Step 11
Similarity Index & Payment
After the ID verification process, you will be directed to the Similarity Index screen. In the Payment section, you will see a complete summary of your charges, including the total amount and available payment methods.
